# Edit Project
> With this feature you can easily set up & edit your project and it's traits. Here's a quick step by step on how to edit your data 👇
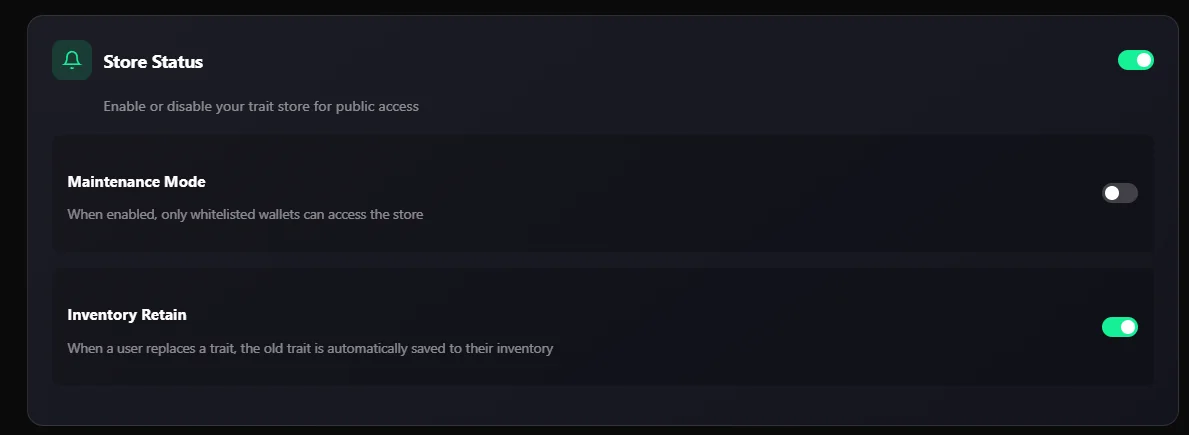
Public
* Use toggle button to make store available or unavailble to public, great for setting up and testing.
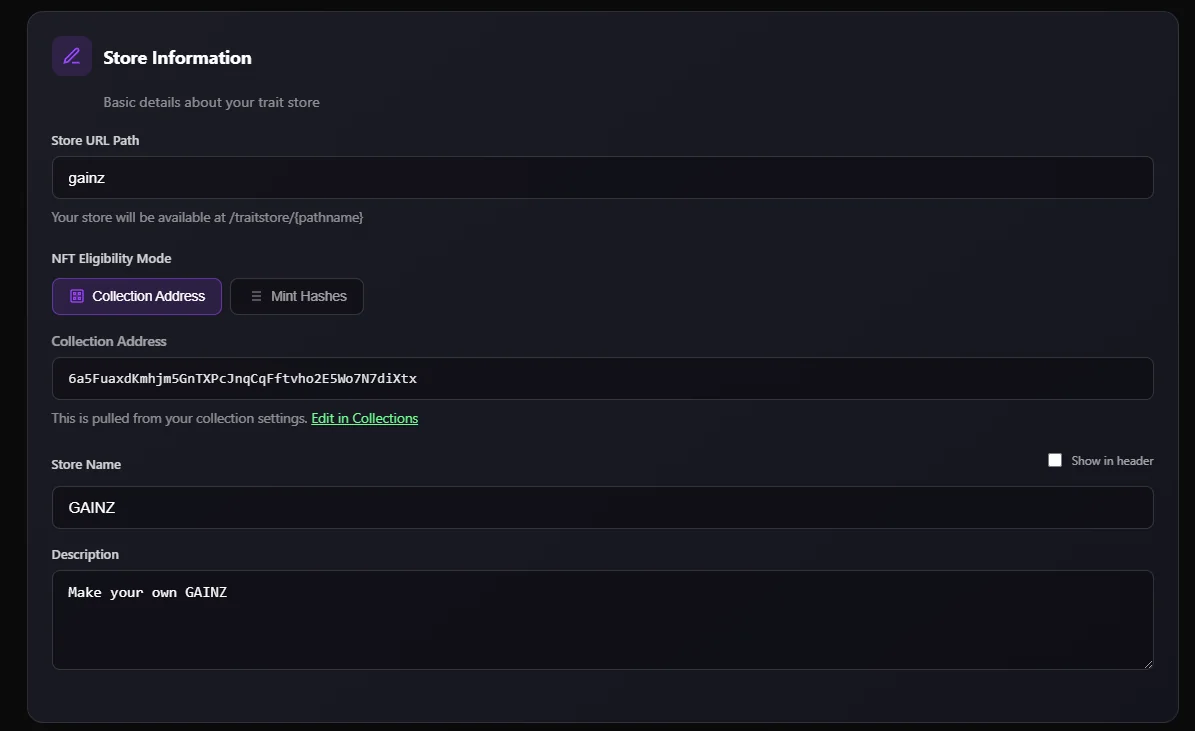
### Project Name
* Enter the name of your project.
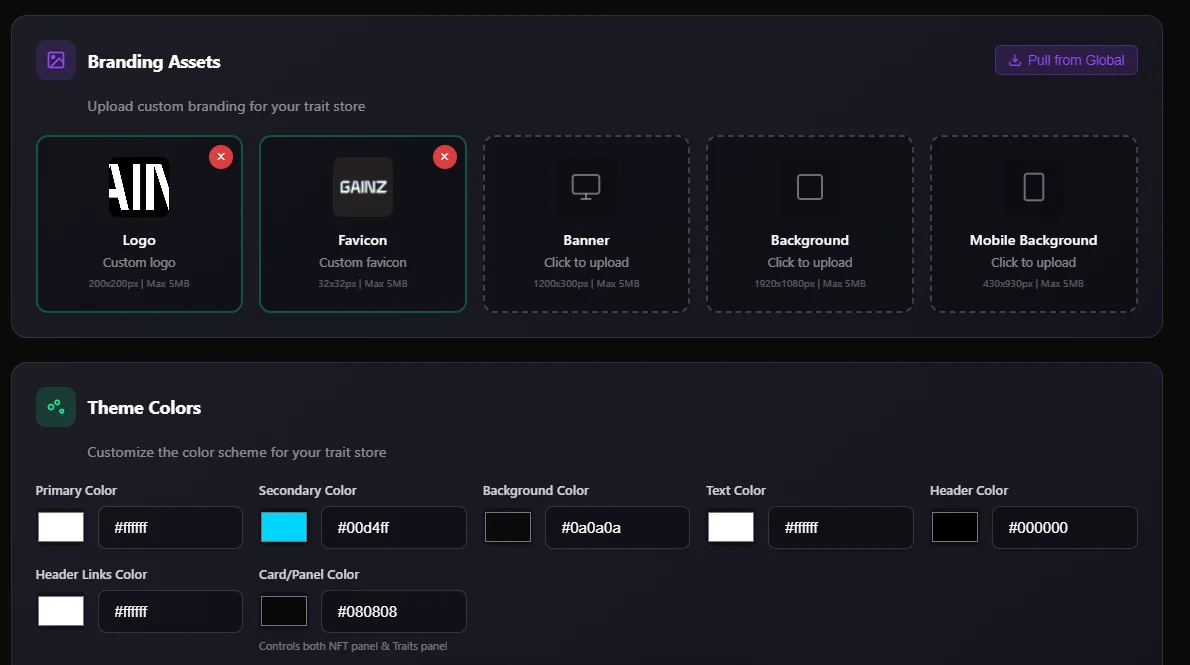
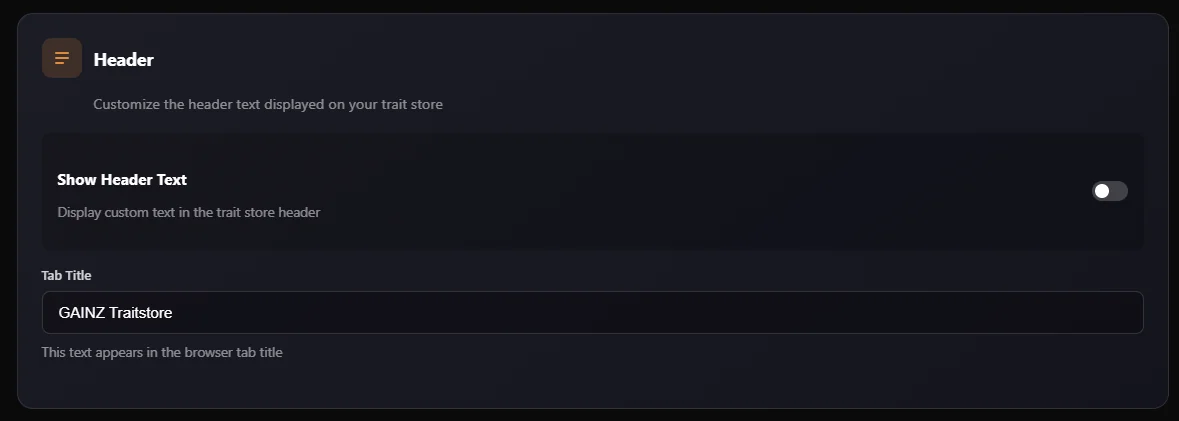
### Logo / Favicon / Banner / Backgrounds
* Upload branding for your project.
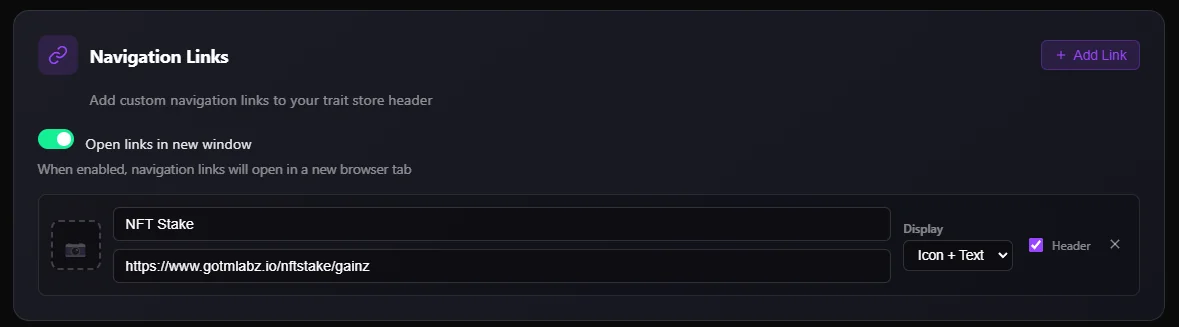
### Custom Links
* Add custom links to the navigation bar of your store.
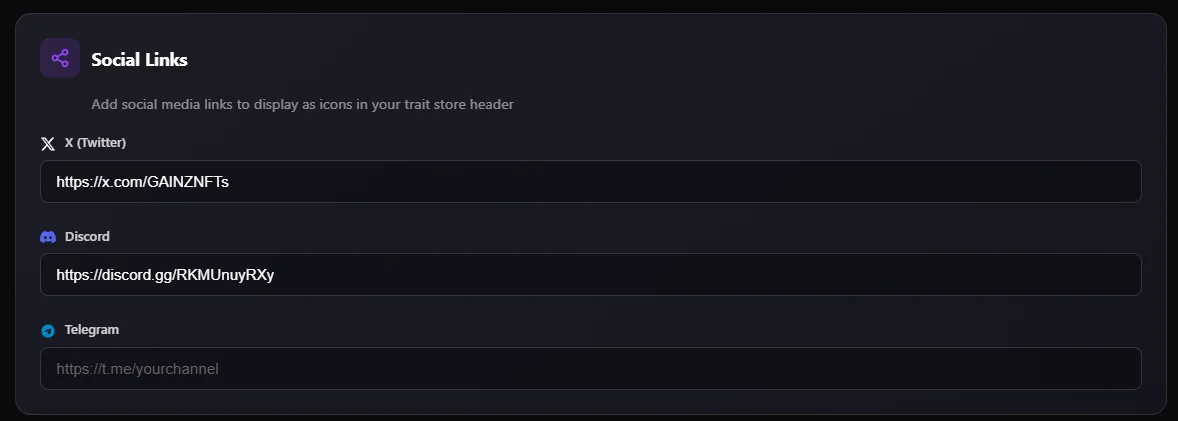
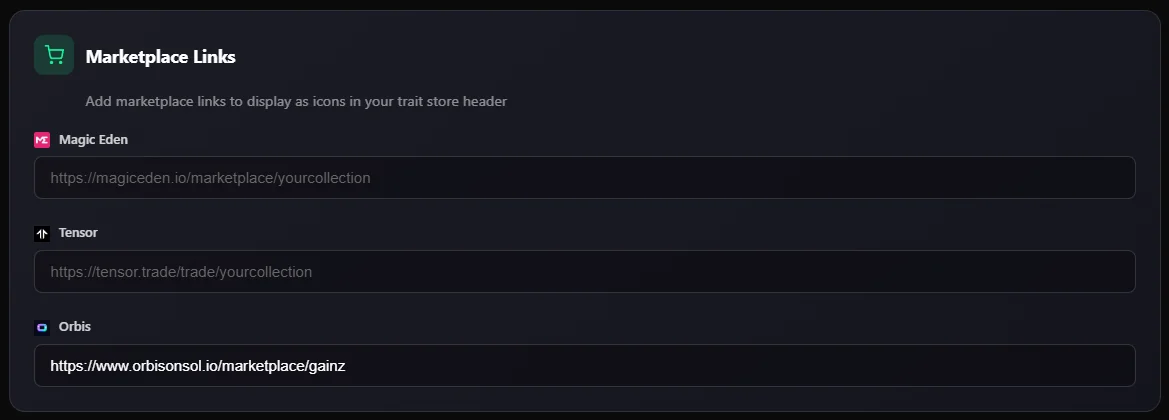
### Links
* Add links to marketplaces, discord and twitter.
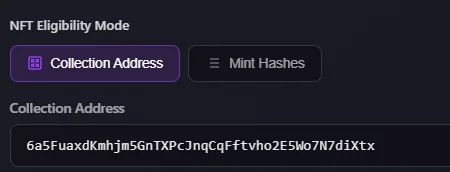
### Collection Address, Verified Creator or Hashlist
* Enter one of the above to define the NFTs shown in your store.
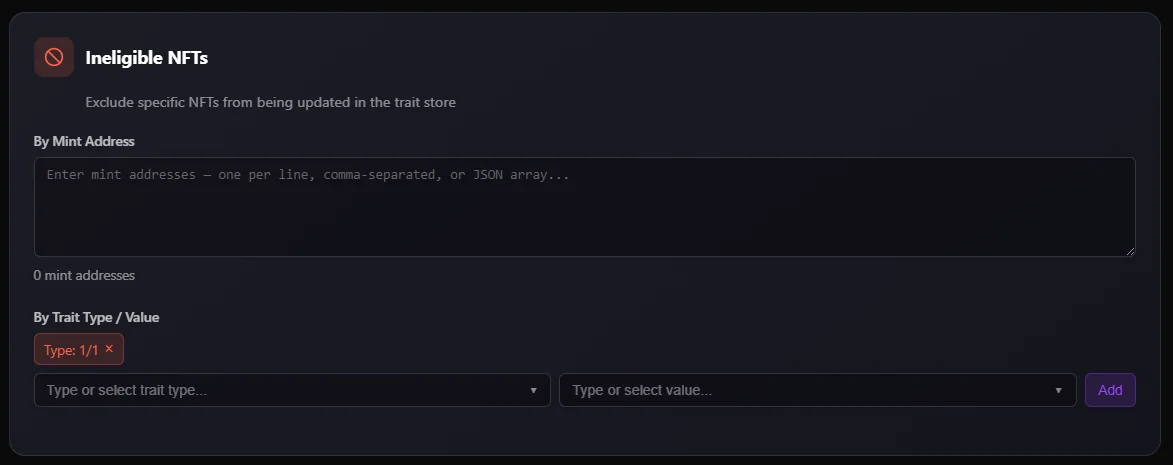
### Ineligble NFTs
* Here you can enter the hashlist of any 1/1's from the collection to be excluded from the trait store.
* Enter hashlist such as: \["nftpubkey1", "nftpubkey2"].
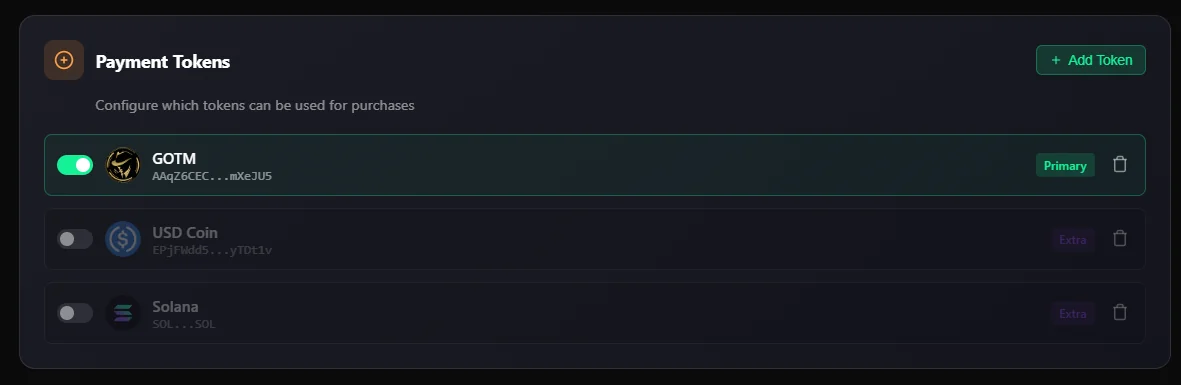
### **Project Tokens**
* Enter the address of the SPL token you want to use in the store.
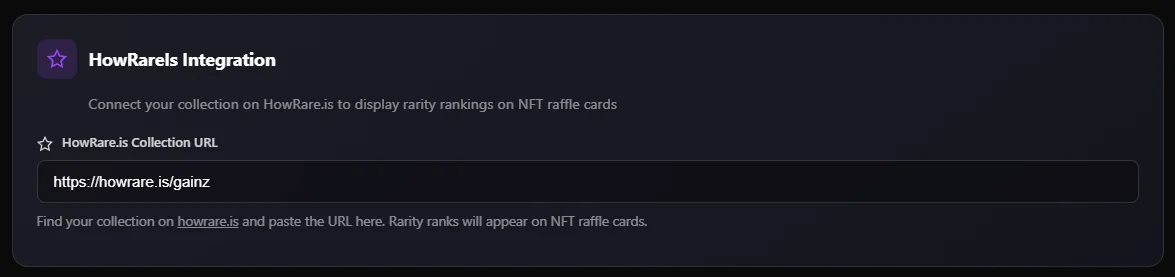
### Rarity Display
* Optional, enter the howrare url for your collection, this will display the rarity of your NFTs in the front end.
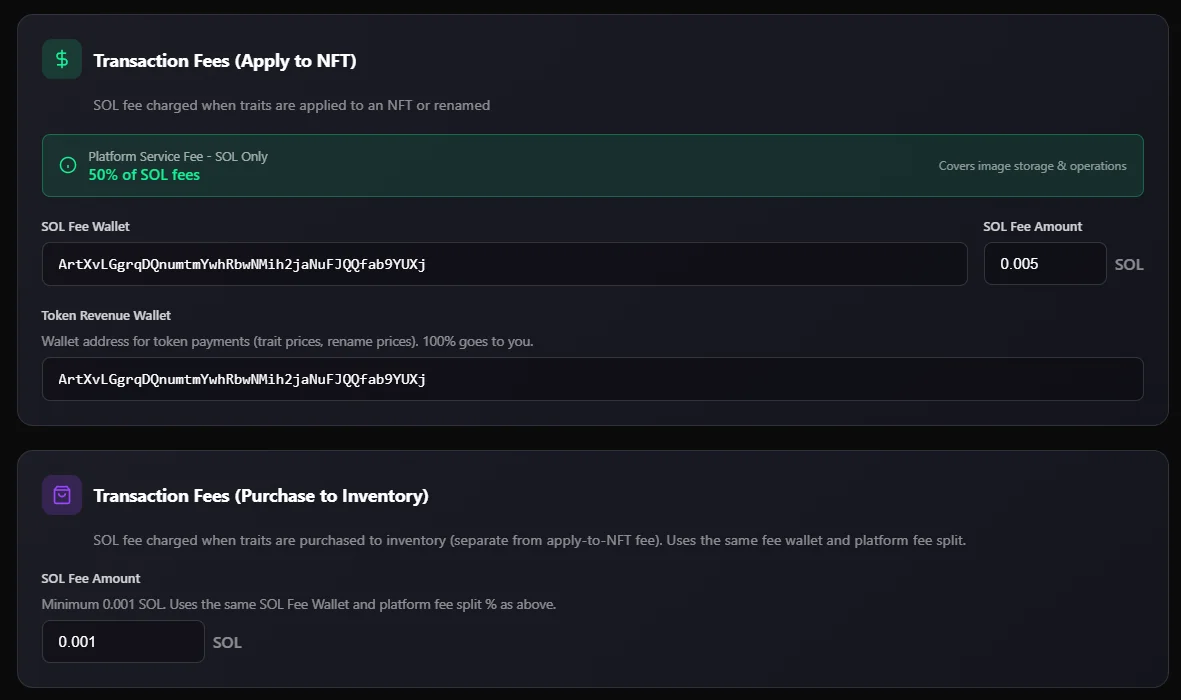
### SOL Fee
* You can define a transaction fee in SOL and the designated wallet to be applied to every customer transaction.
### Token Fee
* You can define where the TOKEN is distributed to from all sales within your store and set the designated wallet addresses.
* Percent should be set in decimal form. Example: 25% should be inputted as 0.25. All amounts should total 1.
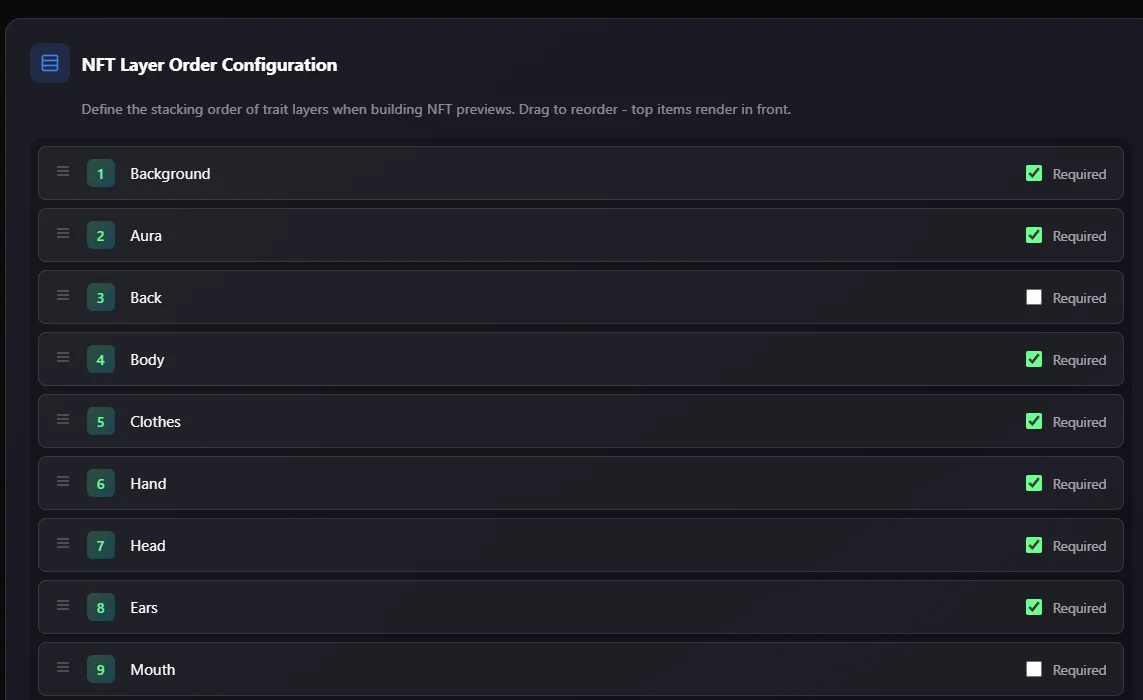
### Layer Order
* Layers will automatically appear based upon the first NFT in your collection. After creating the store, refresh the page to prompt an update.
* Please add any additional layers in the correct order it should be generated (even if it's a text-only layer). If a layer exists on an NFT, but not here, it will not be generated. No layers found.
* You can reorder the layer order displayed in store by dragging into correct position.
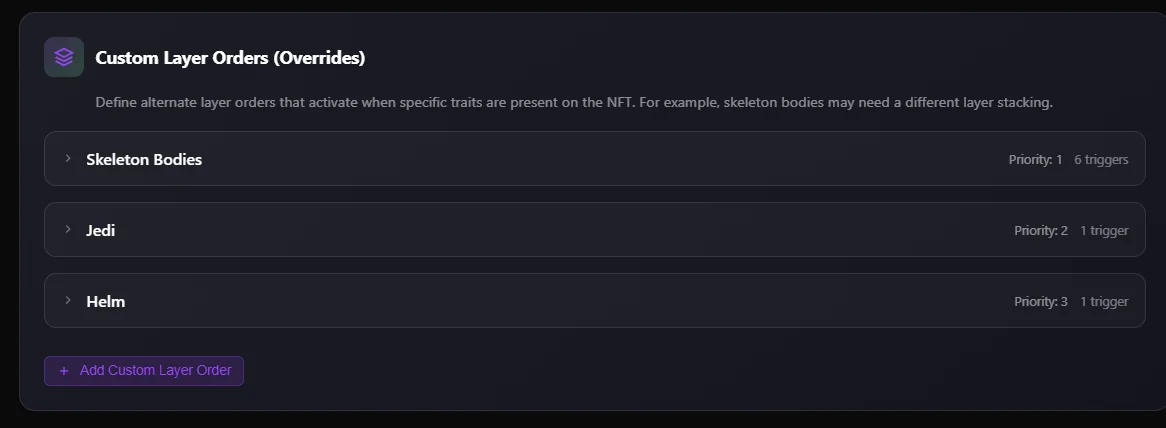
#### Custom Layer Orders (Overrides)
Define alternate layer orders that activate when specific traits are present on the NFT. For example, skeleton bodies may need a different layer order.
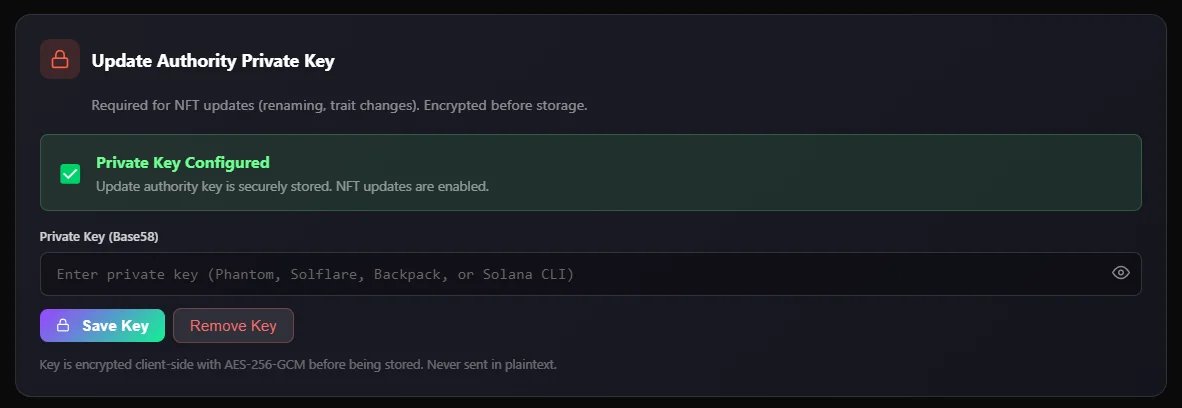
### UA Wallet
* In order for the store to function correctly, the UA wallet is required. \
Enter the private key for the UA wallet to your collection.
* **This value is securely encrypted in our database and never exposed.**